Configure Single Sign-On (SSO)
Set up SAML-based SSO to let your team sign in with your organization's identity provider.
Single Sign-On allows your team members to sign in to Transcribe Health using your organization's identity provider (Okta, Azure AD, Google Workspace, etc.) instead of separate passwords.
Prerequisites
- You must be an Owner or Admin
- Your organization must be on an Enterprise plan
- You need access to your identity provider's admin console
Accessing SSO settings
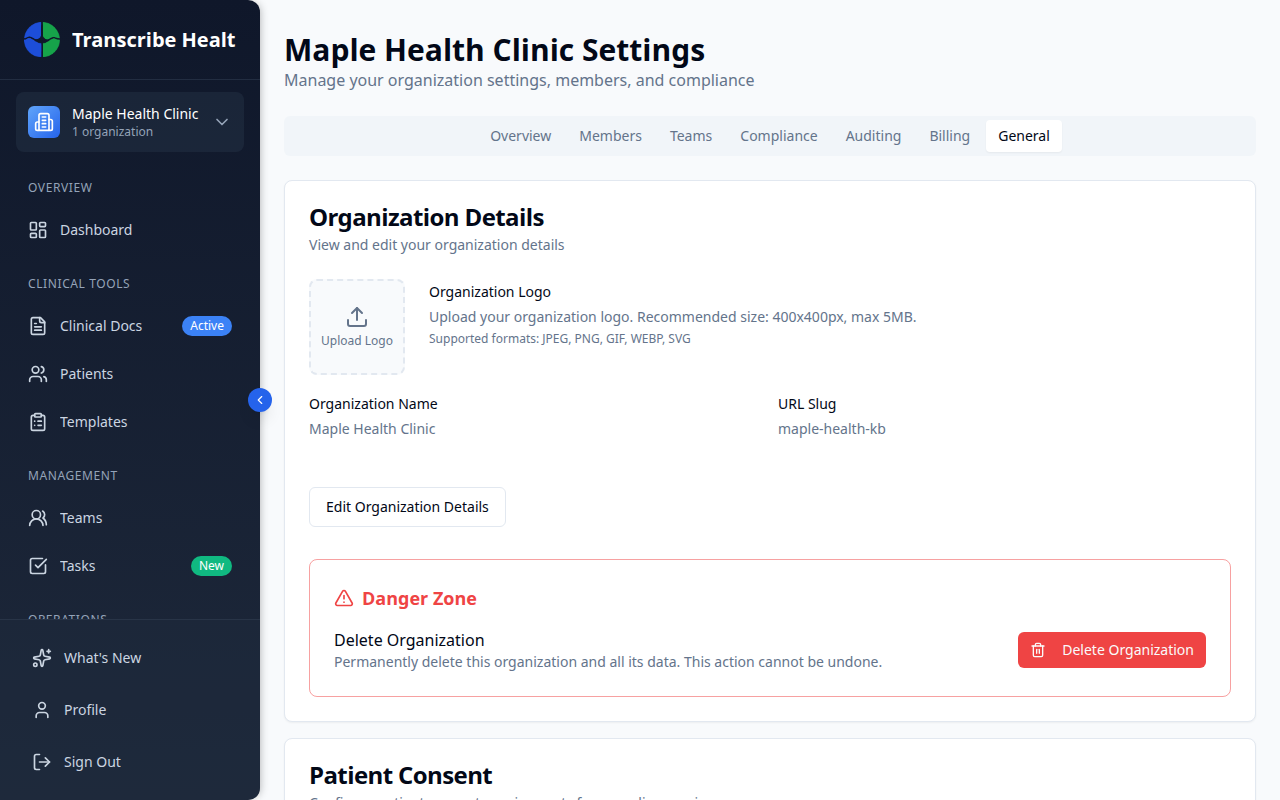
Navigate to Organization > General tab and scroll down to the Single Sign-On section.
Setting up SSO
1. Click Set Up SSO
Click the Set Up SSO button to open the configuration form.
2. Enter provider details
- Display Name - A friendly name for your provider (e.g., "Okta", "Azure AD")
- Provider Type - Select SAML 2.0
3. Configure your identity provider
You can configure the connection in two ways:
Option A: Metadata URL - Paste your IdP's federation metadata URL. This is the easiest method and automatically imports all settings.
Option B: Manual configuration - Enter the Entity ID, SSO URL, and X.509 Certificate manually.
4. Set allowed domains
Add the email domains that should use SSO (e.g., yourcompany.com). Only users with these email domains will be directed to SSO.
5. Configure options
- Enable SSO - Turn SSO on or off
- Enforce SSO - When enabled, users with matching email domains must use SSO and cannot sign in with passwords
- JIT Provisioning - Automatically create Transcribe Health accounts when users sign in via SSO for the first time
- Default Role - The role assigned to JIT-provisioned users (Member or Admin)
6. Download SP metadata
After saving, download the SP Metadata XML file and upload it to your identity provider to complete the connection.
Managing SSO
Once configured, the SSO section shows:
- Provider name and status (Active/Inactive)
- Whether SSO is enforced
- Allowed domains
- Certificate status
You can edit the configuration, disable SSO, or delete the SSO setup entirely.
Troubleshooting
- Users can't sign in - Verify the allowed domains match your users' email domains
- Certificate errors - Re-upload the X.509 certificate from your IdP
- Users not provisioned - Ensure JIT Provisioning is enabled
Related Articles
Enable Multi-Factor Authentication
Add an extra layer of security to your account by enabling MFA with an authenticator app.
Account & SettingsManage Organization Settings
Configure your organization's details, consent requirements, data retention, and more.
Account & SettingsManage Team Members and Roles
Invite members, assign roles, manage permissions, and organize teams in your organization.
Can't find what you're looking for?
Our team is here to help. Reach out and we'll get back to you within 24 hours.
Contact Support